 Attack on Titan 3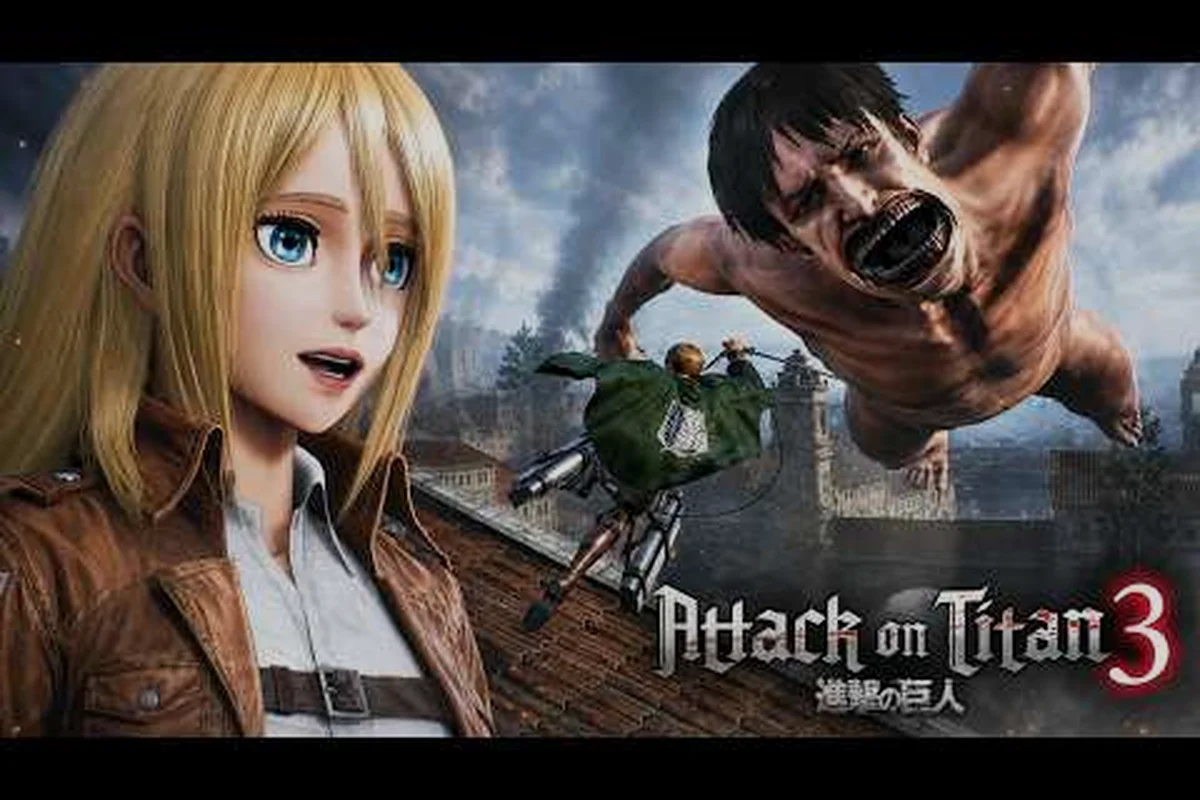
Understanding Squad Synergy in Attack on Titan 3
Squad synergy in Attack on Titan 3 is the difference between a messy retreat and a clean Titan kill, especially when you are nine meters above the ground with one blade left and your fuel gauge blinking red. Because the game maps every combat encounter to a small roster of named allies rather than a swarm of generic soldiers, the way you assemble, command, and react to those allies shapes every mission outcome.
This Attack on Titan 3 squad synergy guide walks you through the full system: how each squad member's unique skills plug into a wider tactical net, how the AI behavior behaves when you are not actively issuing orders, which commands and orders you can chain in real time, and which lineup wins the hardest Nine Titan boss fights that the Omega Force and KOEI TECMO designers have built into the campaign (you can confirm the full feature list on the Attack on Titan 3 Steam Store page). The lateral mobility of ODM gear, layered with Buddy Arts, Combat Arts, and the new Boost Move ability, means that positioning your squad is just as important as positioning yourself.
If you are still choosing which characters to recruit before you start tuning their roles, our squad member recruitment breakdown covers the prerequisites and unlock windows so you can hit the ground running. For a broader look at how synergy ties into the full Survey Corps lineup, the best Survey Squad composition article is a strong companion read.
Squad Member Unique Skills and Role Archetypes
Every squad member in Attack on Titan 3 ships with a signature skill, a passive aura, and a triggered reaction that fires when certain battlefield conditions are met. These three layers stack, so the right pairing of two or three members can double your effective damage without changing your own loadout. The table below summarizes the four core archetypes you will build around before the mid-game, based on the role patterns the developers showcased in the official GamesPress press release.
| Archetype | Signature Skill | Passive Aura | Best Triggered Reaction | Typical Squad Role |
|---|---|---|---|---|
| Vanguard | Relentless Cleave | +12% blade damage vs nape | Counter-flank when struck from behind | Opens the nape window for the player |
| Sharpshooter | Piercing Volley | +15% ranged critical | Pin a limb for 3 seconds | Restrains large Titans from rotating |
| Field Medic | Field Triage Pulse | Squad regen tick every 8s | Auto-revive at 5% HP once per mission | Keeps the squad alive through morale losses |
| Recon Skirmisher | Flare Step | +20% ODM dash distance | Mark weak points through smoke | Scouting, signal relay, and finishers |
How to Read the Skill Stack
A Vanguard's Relentless Cleave only shines when the squad is positioned so the Titan exposes its nape, which is exactly why the Sharpshooter archetype pins a limb first. That pin creates the nape window that the Vanguard then exploits, and the Field Medic keeps both allies standing through the longer exchange. The Recon Skirmisher rounds the quartet out by marking targets through smoke and providing the Boost Move relay that triggers chain reactions across the squad.
When you stack compatible passive auras, the morale system climbs faster, which according to community data from the beta branch delays the squad fatigue debuff that normally kicks in after a long Exterior Scouting Mission. Synergy is not just about raw damage numbers; it is about stretching the time your squad can operate before the retreat threshold forces you back behind the walls.
Squad AI Behavior and Squad Commands and Orders
The AI in Attack on Titan 3 is reactive, not autonomous, which means your squad will hold their last issued order until they take damage, lose sight of the target, or until you override them with a new command. Understanding this baseline is critical because the default AI behavior is defensive — squad members will disengage, regroup, and wait for you to re-engage unless you tell them otherwise, which can feel sluggish during the frantic aerial exchanges that define the game.
Default AI Stances
| Stance | Trigger | Squad Behavior | When to Use |
|---|---|---|---|
| Defensive Hold | No command for 4 seconds | Retreat to nearest safe anchor | Resource-starved missions |
| Aggressive Pursue | Player issues Attack command | Lock nape and chase independently | Burst windows vs isolated Titans |
| Pin & Restrain | Player issues Pin command | Lock chosen limb, ignore aggro | Large Titan focus fire |
| Buddy Guard | Player issues Guard command | Body-block one attack aimed at player | Heal windows, blade regrinds |
How Commands and Orders Chain
You can issue commands through the directional pad on controller or the function keys on keyboard, and the game remembers your last issued order per squad member, which lets you build simple combo scripts during fights. For example, a common chain against the Armored Titan is Pin (left arm) → Attack → Buddy Guard → Attack, which lets your squad tank the counter-swing while you finish the nape. Because the AI behavior is reactive, you should always re-issue the Pin command after every major phase change, otherwise the squad will revert to the Defensive Hold stance within seconds and waste the opening you created.
Players who want a deeper dive into how the squad morale system interacts with these commands should check our squad building guide, which covers the morale thresholds and the moment your squad starts ignoring aggressive orders because fatigue has set in.
Best Squad for Boss Fights and Nine Titan Encounters
Boss fights in Attack on Titan 3 are built around the Nine Titans boss battles confirmed in the official previews, and each Titan demands a different squad loadout. The Attack Titan and Beast Titan encounters favored raw burst damage, while the Armored Titan and War Hammer Titan fights reward patience and pin-and-restrain rotations that let your squad survive the long windows the boss creates. The table below is a community-tested starting point for the four most common wall-side duels, though exact tuning may shift with the post-launch patches that KOEI TECMO has hinted at.
| Boss Fight | Recommended Lineup | Key Player Commands | Synergy Focus |
|---|---|---|---|
| Armored Titan | 2 Vanguard, 1 Sharpshooter, 1 Medic | Pin → Attack → Guard | Exploit armor break windows |
| Beast Titan | 1 Vanguard, 2 Sharpshooter, 1 Skirmisher | Pin → Attack → Boost Move | Stack ranged crits on nape |
| War Hammer Titan | 1 Vanguard, 2 Skirmisher, 1 Medic | Pin → Guard → Attack | Drag constructs out of position |
| Colossal Titan | 2 Sharpshooter, 1 Skirmisher, 1 Medic | Pin → Retreat → Re-pin | kiting with ranged focus fire |
The Attack on Titan 3 best squad for boss fights is rarely one fixed roster because the permanent death mechanic, which SimulationDaily flagged as a defining feature of the Exterior Scouting Missions, means you sometimes lose a squad member mid-fight and need to pivot on the fly. Carrying a Field Medic in almost every lineup is a defensive hedge against that risk, because the auto-revive once per mission can save a run that would otherwise collapse.
Pairing Squad Roles with ODM Loadouts
Synergy is not only about who you bring but also about how their ODM gear complements your own. A Vanguard with high-damage blades and short-range gas matches well with a Sharpshooter running long-range hooks and pierce rounds, because the gas economy never overlaps. If you want to see which ODM part combinations the community has ranked highest for these boss fights, the best ODM build tier list covers the strongest gas, blade, and wire pairings and shows how each one amplifies the squad buffs you just stack.
Building Synergy: Command Combos and Tactical Setups
The final layer of squad synergy is the command combo — a sequence of two or three orders that you chain within the same animation window so your squad acts as a single coordinated unit instead of four independent actors. Because the Boost Move ability refreshes squad stamina on contact, the strongest combos always include at least one Boost trigger to keep the chain rolling. Here are three practical setups we have tested against the beta boss rush, and that experienced players have reported working consistently in the full release.
-
Armor Break Combo: Pin the Armored Titan's left arm → Attack with the Vanguard → Guard with the Medic. The pin holds the limb still, the Vanguard gets a free nape window, and the Medic eats the counter-swing so you can finish the kill without losing tempo.
-
Beast Snipe Combo: Pin the Beast Titan's right leg → Attack with both Sharpshooters → Boost Move the Skirmisher into reload range. The pin gives the Sharpshooters a 3-second static arc, and the Boost Move refills their gas so they can reposition for the next volley without falling.
-
Colossal Kite Combo: Retreat command → Pin both legs → Attack with the third Sharpshooter. Because the Colossal Titan punishes stationary squads, the retreat resets your formation and the double-pin locks the boss in place long enough for the third ranged volley to land cleanly.
Each of these combos leans on squad member unique skills from the table earlier, which is why your roster matters as much as your own loadout. If you are still protecting squad members and managing the squad injuries and recovery loop that the permanent death mechanic creates, the squad member death and recovery guide walks you through the outpost resupply windows and the resource costs of reviving a fallen ally.
When Synergy Breaks Down
Synergy collapses when the squad morale drops below the yellow threshold (reported by players at around 40% morale), because the default AI behavior shifts to Defensive Hold and your squad will stop responding to aggressive commands. The fastest fix is to land a clean kill with the player character, which restores morale ticks faster than any squad-side action. Pair that with a Field Triage Pulse from the Medic, and the squad returns to neutral within a single combat phase, which is why the Medic role is the keystone of any sustainable synergy build.
Frequently Asked Questions
What is the most important squad synergy rule in Attack on Titan 3?
Always bring at least one Field Medic because the auto-revive passive prevents a single mistake from cascading into a full squad wipe, which is the most common way synergy collapses during the harder Nine Titan boss fights. Synergy is fragile, and the Medic is the one role that keeps the chain alive when everything else breaks.
How does squad AI behavior change when morale drops?
When morale falls below the yellow threshold, the default AI stance shifts to Defensive Hold and your squad members will refuse aggressive commands like Attack or Pin until you restore morale through clean kills or a Field Triage Pulse. You can still force them to act by re-issuing the command, but the response delay grows noticeably.
Which squad commands are the strongest for the Nine Titan boss fights?
The Pin command is the strongest raw tool because it locks a Titan limb for 3 seconds and creates the nape window your squad needs to deal damage safely. Pairing it with Guard and Boost Move creates the Armor Break Combo that most players use to clear the Armored Titan encounter on the first or second attempt.
Can I customize squad member unique skills, or are they fixed?
The signature skills are fixed per character, but you can amplify them through passive aura stacking and through squad composition choices that force the triggered reactions to fire more often. The strongest upgrades come from pairing compatible auras, not from changing the skill itself, so focus on roster-building rather than skill-replacement.
How do I keep my squad alive during Exterior Scouting Missions?
Push the advance-or-retreat decision toward retreat whenever your ODM fuel gauge drops below 25%, because retreating early lets your squad resupply at the nearest outpost and avoids the permanent death penalty that the SimulationDaily report flagged as a core risk of the outside-the-walls loop. A live squad always outperforms a dead one, no matter how strong the original lineup was.