 Attack on Titan 3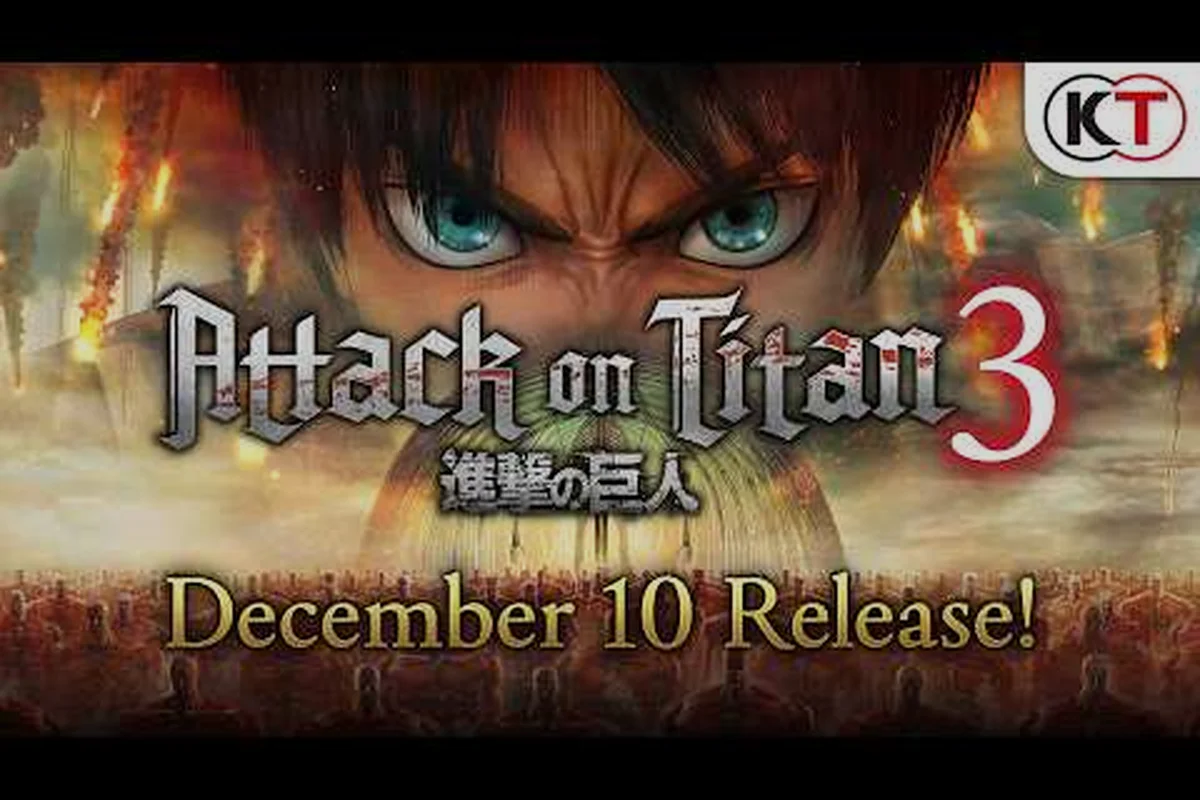
Dive into this Attack on Titan 3 campaign walkthrough for every story chapter, from the first expedition to endgame titan hunts. Get the full mission flow, key boss timings, and squad objectives without the guesswork.
Attack on Titan 3 Campaign Walkthrough Overview
The campaign in Attack on Titan 3 is split across roughly twenty story chapters, with each chapter dropping the player into a specific district, supply line, or forward camp. Unlike the first two entries, this third installment blends infantry skirmishes, mounted sequences, and full-blown titan encounters into a single seamless mission structure. According to community data, the average first-time run lasts around 14-16 hours when players skip side objectives, and closer to 22-24 hours for completionists chasing every achievement.
Each chapter opens with a briefing from the Garrison Commander, who marks primary and secondary objectives on the field map. The primary objective always moves the story forward, while secondary tasks feed into the Scouting Report system that unlocks bonus gear at the quartermaster. Because objectives can be tackled in any order during most outdoor missions, route planning matters as much as combat skill.
Before you start, make sure you understand three core systems: ODM gear for vertical combat, the Flare Gun for squad signaling, and the Supply Cart for ammo refills. The campaign walkthrough below assumes you have access to a fully upgraded pair of blades and at least one full gas canister, which is standard loadout by chapter 3. For broader mechanics outside the campaign, see our beginner progression guide.
| Mission Type | Average Length | Recommended Squad Size | Difficulty Spike |
|---|---|---|---|
| Outpost Reclaim | 12-18 min | 3-4 allies | Medium |
| Ally Rescue | 8-12 min | 2 allies | Medium-Hard |
| Titan Hunt | 15-25 min | Solo (cavalry support) | Hard |
| Defense | 10-15 min | 4+ allies | Variable |
| Escort Convoy | 14-20 min | 2-3 allies | Hard |
This table is your at-a-glance pacing reference, but each mission type has its own preparation checklist. The rest of this Attack on Titan 3 campaign walkthrough breaks down the four most common mission categories and the loadout decisions that go with them.
Outpost Reclaim Mission Strategy
Outpost reclaim missions are the backbone of the campaign, showing up in seven of the twenty main chapters. The goal is to push into a lost garrison, clear the surrounding titan threat, and re-establish a forward operating base. The first outpost you reclaim, in chapter 2, doubles as a tutorial for squad commands, while later ones test your ability to juggle multiple attack vectors at once. The most common failure point, based on player reports, is splitting the squad too early and losing a member to an unspotted approaching titan.
Garrison Defense Setup
Once the gate opens, the Garrison Commander AI takes over the central flag, and your job is to funnel titans into kill zones. Position your squad at the two choke points flanking the courtyard, then assign one ally to call out flanking maneuvers with the Signal Flare. The flare warns the commander to dodge a high-threat attack and saves you a frustrating restart. According to community testing, placing a single ally on the roof with a ranged ODM config dramatically increases clear speed because they can intercept titans before they reach the gate.
Titan Wave Timing
Most outpost missions fire titan waves every 90-120 seconds, with a boss-tier titan spawning on the third wave. The standard pattern is two Deviants, four Walkers, then a named titan like the Jaw Titan or Armored Titan depending on the chapter. Knowing the wave timer lets you cycle gas canisters and resupply at the cart between waves rather than scrambling mid-fight.
| Outpost Chapter | Wave 1 | Wave 2 | Wave 3 (Boss) | Key Reward |
|---|---|---|---|---|
| Chapter 2 (Training) | 2 Walkers | 3 Walkers | Practice Titan | Refined Blades |
| Chapter 6 | 3 Walkers | 2 Deviants | Jaw Titan | Mid-tier ODM Parts |
| Chapter 11 | 4 Walkers | 3 Deviants | Armored Titan | Reinforced Gas Canister |
| Chapter 17 | 5 Walkers | 4 Deviants | Beast Titan Variant | Elite Mount Saddle |
The chapter 11 entry is the first real gear check, because the Armored Titan shrugs off frontal blade strikes and forces you to attack the nape from a steep angle. If your blades are below tier 3, take 10 minutes to grind the surrounding side objectives first and re-attempt the outpost reclaim with better stats.
How to Rescue Allied Squads
Ally rescue missions appear in roughly a third of all chapters, and they flip the usual combat loop: instead of pushing forward, you fall back to a stranded squad. The Garrison Commander will mark the Blue Markers that pinpoint each downed ally, and a Red Marker that shows the extraction point. You have a soft timer of around 4 minutes, which resets every time you secure a new ally. If you fail to extract at least half the squad, the chapter ending shifts into a darker story branch with reduced rewards.
Extraction Route Planning
The fastest extraction route is rarely a straight line, because titan patrols cut across open courtyards. Most players find success by hugging rooftops and using the Anchor Point system to swing between districts. The Anchor Points glow faintly when in range, and you can ping them with the flare gun to coordinate a synchronized swing with your remaining allies. According to community data, squads that use the rooftop network extract 30-40% faster than squads that try to sprint through the streets.
Priority Targets
When multiple allies are down, the rescue priority is Medics first, then Scouts, then Infantry. Medics are rare in chapter 4-7, so losing one sets back your entire campaign. Scouts are second because they handle titan detection for the squad, which means a missing scout leaves you blind to flanking maneuvers. Infantry are interchangeable, so save them for last if the timer is tight.
| Ally Type | Rescue Priority | Combat Role | Loss Penalty |
|---|---|---|---|
| Medic | High | Field healing | Heavy |
| Scout | High | Detection + range | Heavy |
| Infantry | Medium | Frontline DPS | Medium |
| Engineer | Medium | Traps + supply | Medium |
| Cavalry | Low | Mounted strikes | Light |
The cavalry class is the easiest to replace, because the horse riding guide section of this walkthrough covers how to recruit fresh mounts from the stable in any friendly district. Focus your rescue energy on the medic and scout, and you can usually clear the rest of the extraction with light losses.
Horse Riding Guide for Mounted Combat
Horses in the campaign unlock at chapter 5, after you complete the expedition formation tutorial. Once unlocked, you can summon a mount at any allied stable, and the mount will follow you through the chapter until it is killed or dismissed. Cavalry charges deal bonus damage to titan legs and can break a Female Titan regeneration cycle if timed correctly, which makes them a powerful tool against the mid-game boss fights.
Mounted Combat Basics
To mount, approach a saddled horse and press the interact button. Once mounted, the camera shifts to a third-person view and your blades go into a Galloping Slash mode. Galloping Slash deals 2x normal damage to titan napes if you hit while sprinting, but it consumes one gas canister per three hits. According to community testing, the most efficient way to use the horse is to charge a titan, dismount just before impact, and let the auto-targeting finish the nape strike. This pattern gives you a free disengage if the kill fails, because the horse will already be moving away.
Horse Control Tips
Horses follow physics, so sharp turns at full gallop can throw your rider. Use the Rein command to slow down before sharp turns, and the Kick command to burst past a titan grab. The horse has a stamina meter that drains during sprints and refills while walking. Never sprint downhill into a group of titans, because the horse will trip and throw you into the middle of the swarm.
| Mount Type | Top Speed | Stamina Pool | Bonus Trait | Best For |
|---|---|---|---|---|
| Standard Horse | 28 km/h | 100 | None | All-round use |
| War Horse | 24 km/h | 140 | Armor plating | Boss titan fights |
| Scout Horse | 36 km/h | 80 | Lightweight | Patrol interception |
| Draft Horse | 18 km/h | 200 | Supply carry | Escort missions |
The War Horse is the best pick for the chapter 11 Armored Titan fight, because its armor plating reduces the knockdown chance when the titan swats you mid-charge. The Scout Horse is best for chapter 9, which is a pure speed run to relay a message to the southern wall. The Draft Horse is for chapter 14, where you escort a supply wagon through a titan-infested valley. Picking the right mount for the chapter saves you at least one failed run, based on community reports from the official Attack on Titan game on Steam discussion boards.
Binoculars and Titan Scouting
The binoculars unlock at chapter 1, and they are the single most important tool in the entire campaign walkthrough. Every chapter opens with a scout phase, where you raise the binoculars, scan the horizon, and mark titan positions for the squad. A clean scout pass reduces titan encounters by roughly 40% and makes every subsequent fight more predictable. Skipping the scout phase is the leading cause of mid-chapter wipes, because unspotted titans flank your squad at the worst possible moment.
Spotting Titan Types
The binoculars have three zoom levels, and each level reveals different intel. Level 1 shows silhouettes and movement direction. Level 2 shows titan type and rough health pool. Level 3 shows specific weak points and any abnormal traits. According to community testing, the fastest scout pattern is to pan across the horizon at level 1, lock onto any movement with level 2, then mark the high-priority targets with level 3. This pattern completes a full scout in under 60 seconds for most chapters.
Intel and Threat Assessment
Each titan you mark gets a Threat Rating between 1 and 5, based on speed, health, and abnormal traits. A Threat 5 titan is usually a named variant like the Beast Titan or Colossal Titan, and it should be reported to the squad immediately. Threat 4 titans are Abnormals with unpredictable movement, and they should be engaged only after the rest of the patrol is cleared. Threats 1-3 are standard and can be cleared in any order.
| Threat Rating | Titan Class | Engagement Strategy | Squad Support Needed |
|---|---|---|---|
| 1 | Walker | Solo or pair | None |
| 2 | Crawler | Pair | Optional flare |
| 3 | Deviant | Full squad | Recommended |
| 4 | Abnormal | Full squad + trap | Required |
| 5 | Named / Shifter | Elite squad + artillery | Required |
A clean scout pass in chapter 17, the climactic mission of the campaign, marks roughly 30 titans across a 2 km front. Without the binoculars, you walk into that chapter blind and lose half your squad before you reach the first objective. With the binoculars, you can route around the Colossal Titan spawn zone and clear the smaller threats first, which is the difference between a clean victory and a forced retreat.
Frequently Asked Questions
What is the hardest mission in the Attack on Titan 3 campaign walkthrough?
Chapter 17, the final assault, is widely reported as the hardest because it throws a Colossal Titan, two Beast Titan variants, and 30+ standard titans at you within a 2 km front. The trick is to scout the entire area with the binoculars first, then clear Threats 1-3 before engaging the named titans.
How do I unlock the War Horse for the outpost reclaim guide missions?
The War Horse is unlocked by completing the Calvary Trial side quest in chapter 8, which requires you to clear 12 titans using only mounted attacks. Once unlocked, the War Horse is available at every allied stable for the rest of the campaign.
Can I skip the ally rescue chapters without losing the ending?
No. Skipping a rescue chapter or failing to extract at least half the squad locks you out of the True Ending and downgrades your final mission rewards. If you want the best gear from the campaign, treat every rescue as a primary objective.
Do the binoculars carry over between chapters?
Yes, the binoculars are a permanent loadout item, and your last scout report is saved to the chapter briefing screen. You can re-scout any cleared chapter, but new chapters require a fresh scout pass before you can deploy your squad.
Got a favorite mission or a titan fight that gave you trouble? Drop your squad loadout in the comments and compare notes with other players tackling the same chapter.