 Attack on Titan 3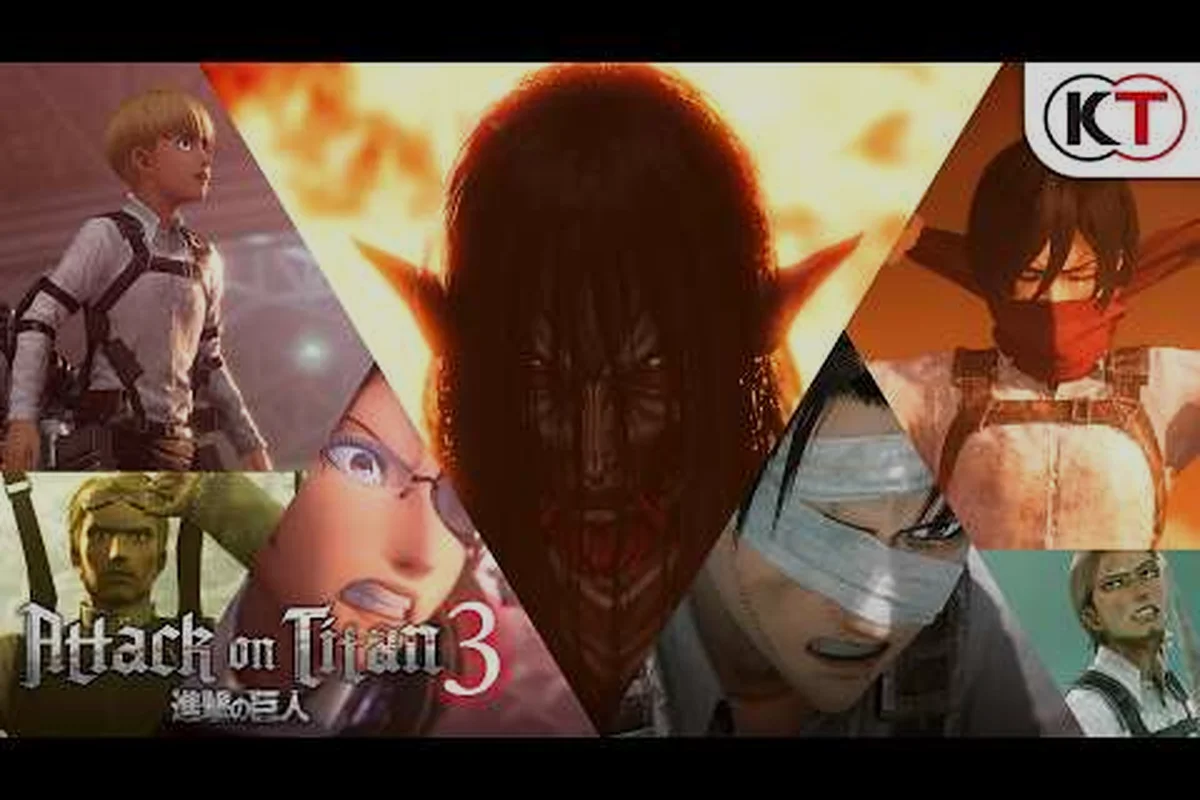
The Nine Titans in Attack on Titan 3 are the boss encounters that define the campaign difficulty curve. Each of the nine Titan Shifters — from the Colossal Titan to the Founding Titan — has unique attack patterns, stagger windows, and environmental mechanics that require specific squad compositions and combat strategies to overcome.
All Nine Titan Boss Fights
The Nine Titan encounters are spread across the campaign chapters, with each fight escalating in complexity from the early Trost chapters through the final Founding Titan confrontation. The Colossal Titan kicks off the sequence as a tutorial-level boss that teaches you to read transformation blast radius cues. The Armored Titan introduces the limb-pin mechanic where you must use Buddy Arts to lock its armor plates before attacking the exposed nape. The Beast Titan brings ranged projectile attacks that force constant repositioning. The Female Titan, Attack Titan, Jaw Titan, Cart Titan, and War Hammer Titan each add new mechanics that stack on top of the previous lessons, culminating in the Founding Titan fight that demands mastery of every system in the game.
Titan Stagger Mechanics and Nape Windows
Every Titan boss has a stagger window that opens when you deal enough damage to a specific limb or when you successfully land a Buddy Arts pin. During the stagger, the Titan freezes for roughly three seconds and its nape becomes exposed for a direct strike. The timing window is tight — you have roughly 1.5 seconds to position your ODM anchor and begin the strike before the Titan recovers. Advanced players chain a Buddy Arts pin into a Combat Arts strike and then a Boost Move reposition, creating a three-phase combo that maximizes damage during each stagger window without leaving the character vulnerable to the Titan recovery attack.
Recommended Squad Compositions Per Titan
Different Titans demand different squad builds. The Colossal Titan fight favors a Defender-heavy squad that can survive the transformation blast, while the Beast Titan requires Strikers who can close the distance quickly during the brief opening between projectile volleys. The Armored Titan benefits from Support characters who keep the synergy gauge high enough for repeated Buddy Arts pins. The Founding Titan fight demands a perfectly balanced squad with two Strikers, one Defender, one Medic, and one Support, because the encounter cycles through all the previous Titan mechanics in a single extended phase.
Environmental Hazards and Arena Mechanics
Each Titan arena includes environmental hazards that add a spatial puzzle element to the combat. The Colossal Titan arena has crumbling walls that limit your ODM anchor points. The Beast Titan arena features open terrain with no cover, forcing you to use Boost Move for emergency evasion. The Armored Titan arena includes destructible pillars that the Titan charges through, creating debris that blocks ODM wire paths. Learning the arena layout for each fight is as important as learning the Titan attack patterns, because a player who does not know where to find the last standing anchor point will be unable to maintain ODM mobility in the critical final phase of the fight.
Nine Titan Boss Order
| Titan | Chapter | Core Mechanic | Squad Focus |
|---|---|---|---|
| Colossal | 1-2 | Blast radius dodge | Defender |
| Armored | 3-4 | Limb pin + nape | Support |
| Beast | 5 | Projectile evasion | Striker |
| Attack | 6 | Fast combo pressure | Balanced |
Stagger Window Timing
| Titan | Stagger Trigger | Window Duration |
|---|---|---|
| Colossal | Leg damage threshold | 3 seconds |
| Armored | Buddy Arts pin | 2.5 seconds |
| Beast | Projectile interrupt | 2 seconds |
Arena Hazard Summary
| Arena | Key Hazard | Counter Strategy |
|---|---|---|
| Colossal | Crumbling walls | Pre-learn anchor points |
| Beast | No cover | Boost Move evasion |
| Armored | Charging debris | Vertical ODM escape |
Titan Attack Pattern Recognition
Each of the Nine Titans in Attack on Titan 3 follows a predictable attack cycle with telegraphed wind-up animations that experienced players can read and exploit. The wind-up animation lasts roughly one second before the actual attack lands, which gives you a narrow window to decide whether to dodge with Boost Move or commit to a counter-attack with Buddy Arts. The Colossal Titan telegraphs its transformation blast by raising both arms overhead — when you see this animation, you must Boost Move away from the blast radius immediately. The Armored Titan telegraphs its charge attack by lowering its shoulder and scraping the ground, which gives you time to set up a Buddy Arts pin on the shoulder joint before the charge begins. The Beast Titan telegraphs its rock-throwing attack by winding its arm behind its head in a baseball-pitch motion, which tells you to reposition behind a building or use vertical ODM movement to evade the projectile arc. Learning these patterns is the single most important skill for the Nine Titan encounters, because reacting to telegraphs correctly prevents damage and creates counter-attack opportunities.
Stagger Window Optimization
Every Titan boss has a stagger window that opens when specific conditions are met, and optimizing your damage output during these windows is the key to efficient clears. The stagger trigger varies by Titan: the Colossal Titan staggers when you deal enough damage to its legs, the Armored Titan staggers when a Buddy Arts pin locks its armor, and the Beast Titan staggers when you interrupt its rock-throwing animation. During the stagger, the Titan freezes for two to three seconds and its nape becomes exposed for a direct strike. The optimal combo is Buddy Arts pin into Combat Arts strike into Boost Move reposition, which maximizes damage during the stagger window while ensuring you escape before the Titan recovers. Advanced players pre-position their ODM anchors so they can begin the nape strike instantly when the stagger opens, saving roughly half a second compared to players who need to reposition first.
Founding Titan Final Boss Strategy
The Founding Titan fight in Attack on Titan 3 is the ultimate test of every system you have learned throughout the campaign. The encounter cycles through mechanics borrowed from all previous Titan fights — blast radius dodges from the Colossal Titan, limb pins from the Armored Titan, projectile evasion from the Beast Titan, and fast combo pressure from the Attack Titan. The fight has four phases, each introducing a new mechanic stack while maintaining the previous ones. Phase one is a standard nape-strike encounter with periodic blast radius attacks. Phase two adds limb-pin requirements that force Buddy Arts usage. Phase three introduces ranged projectiles that demand constant repositioning. Phase four combines all mechanics simultaneously and reduces the stagger window to roughly one second, which requires perfectly timed ability chains to deal meaningful damage. The recommended squad composition is two Strikers for damage, one Defender for aggro control, one Medic for emergency revival, and one Support for synergy gauge maintenance.
Titan Transformation Sequences
Each Titan Shifter in Attack on Titan 3 has a unique transformation sequence that telegraphs their combat style for the upcoming fight. The Colossal Titan transformation creates a massive steam explosion that pushes your squad back and limits ODM anchor points. The Armored Titan transformation hardens its skin with visible armor plates that must be individually pinned before the nape is exposed. The Beast Titan transformation creates a zone of airborne debris that acts as a persistent environmental hazard throughout the fight. The Attack Titan transformation is the fastest in the game, with the Shifter appearing almost instantly and immediately beginning high-damage combo pressure. Learning to read each transformation sequence gives you a few seconds of preparation time before the actual combat begins, which you can use to position your squad, confirm your ODM anchor routes, and activate any pre-combat buffs that your characters carry.
Nine Titan Lore and Background
The Nine Titans in Attack on Titan 3 are drawn directly from the anime mythology, where each Titan Shifter inherits one of nine distinct Titan powers that have been passed down through generations. The Founding Titan holds the power to control memories and manipulate Titan biology, the Attack Titan can see glimpses of future memories, the Colossal Titan generates enormous heat and steam, the Armored Titan hardens its skin into armor plates, the Beast Titan can command mindless Titans and throw projectiles with precision, the Female Titan can harden specific body parts and attract mindless Titans, the Jaw Titan has the most powerful bite force and the highest mobility, the Cart Titan provides sustained endurance for long-range operations, and the War Hammer Titan can create structures and weapons from hardened Titan flesh. Each Titan power is represented faithfully in the game mechanics, with the lore informing the specific combat abilities and environmental interactions that players encounter during each boss fight.
Titan Weak Point Targeting
Every Titan in Attack on Titan 3 has specific weak points that take increased damage when struck, but the weak point location differs between Titans and changes during each phase of the fight. The nape is always the primary weak point, but secondary weak points exist on the ankles, the wrists, and the back of the neck. Striking a secondary weak point deals roughly fifty percent more damage than a normal hit but does not trigger a stagger — only the nape triggers stagger. During phase transitions, some Titans shift their weak points: the Armored Titan covers its nape with armor plating in later phases, forcing you to destroy the plating through secondary weak point hits before you can access the nape again. Learning the weak point locations for each Titan phase is essential for efficient clears, because players who target only the nape without clearing secondary weak points first will deal significantly less total damage over the course of the encounter.
Frequently Asked Questions
What is the most important thing to know about this system?
The most important thing is understanding how the core mechanics interact with each other, because every decision you make in one system cascades into the others. Players who treat each system in isolation consistently underperform compared to those who see the connections.
How do I get started as a beginner?
Start with the basics and build up gradually. Focus on mastering the fundamental mechanics before attempting advanced strategies, and experiment with different combinations to find what works best for your preferred playstyle and squad composition.
What should I prioritize for the best results?
Prioritize understanding synergy connections and resource management first. These two systems have the largest impact on overall performance, and players who master them early will find every subsequent encounter significantly easier than those who skip the fundamentals.